Creating Your Event Step 3: Theme Designer
Written By Edith Henry
Last updated 19 days ago
By the time you get to the last few steps of the Event Setup flow, you’ve already completed the bare minimum to get your event live and start collecting registrations. However, this point in the setup flow is what allows you to start really customizing the look and feel of your event to capture the spirit of your specific theme.
Setting Your Event Banner
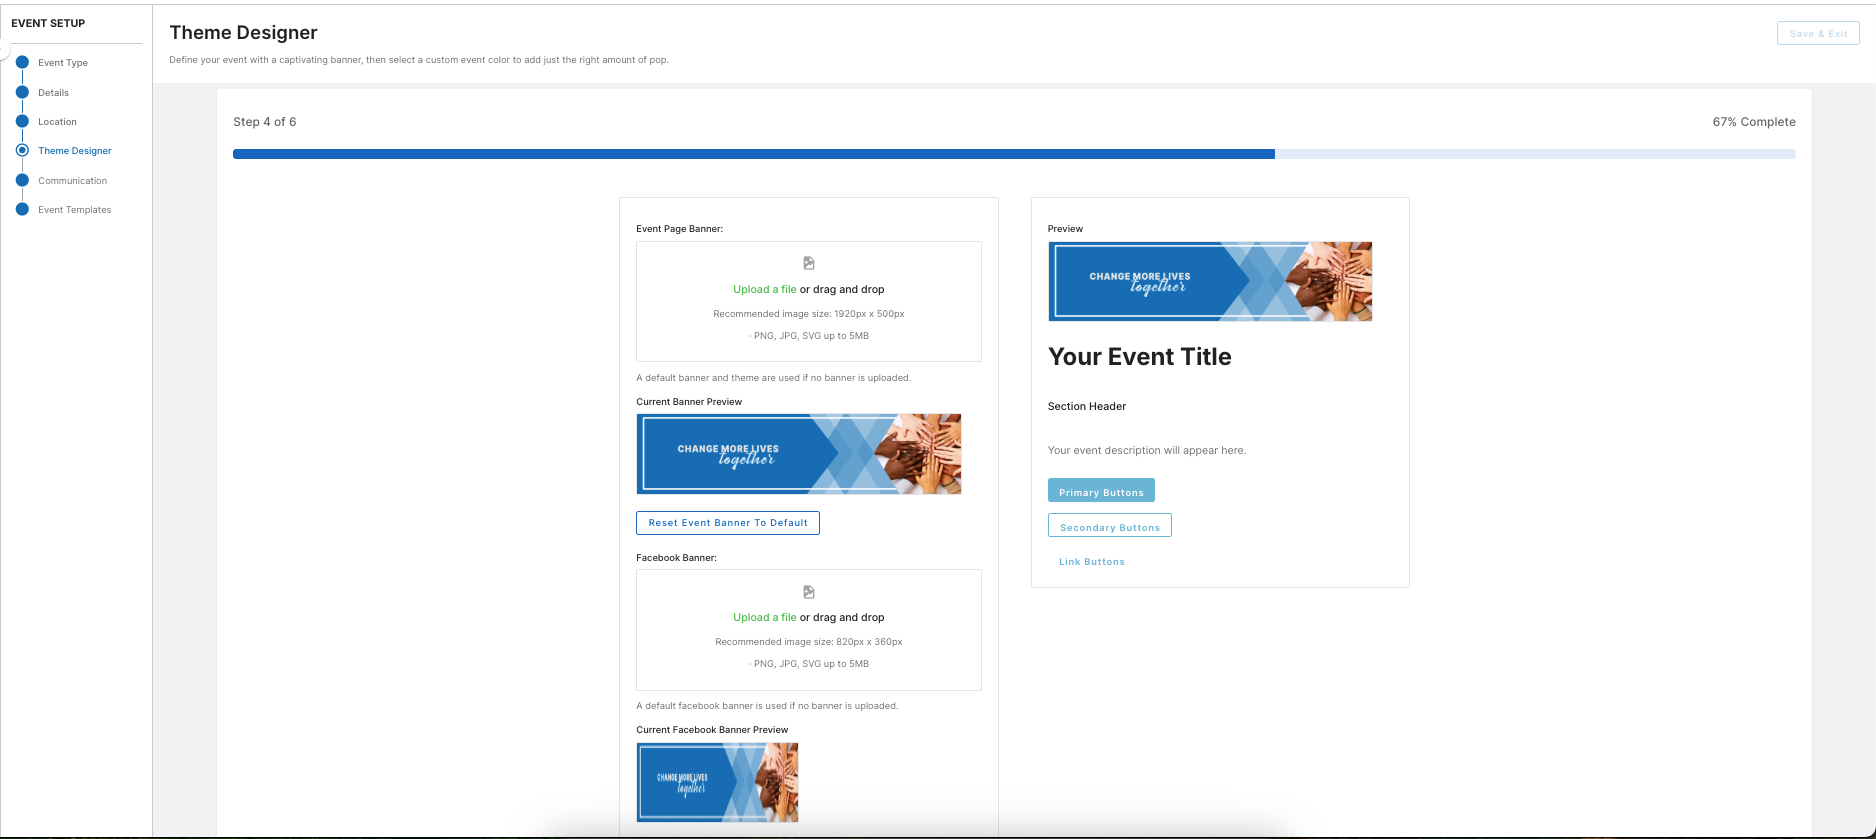
We’ve noticed that web and email templates look broken or incomplete without some kind of visual “pop.” So we’ve provided a default banner and color palette that will always keep your communications looking sharp, even if you don’t have any designs of your own.
However, we strongly encourage you to upload your own event banner to represent the heart of your unique event. We’ve given you the ability to add a main banner (such as, for web and email templates) as well as a Facebook banner in case you want to share your event details via social media.
Adding a Facebook Banner
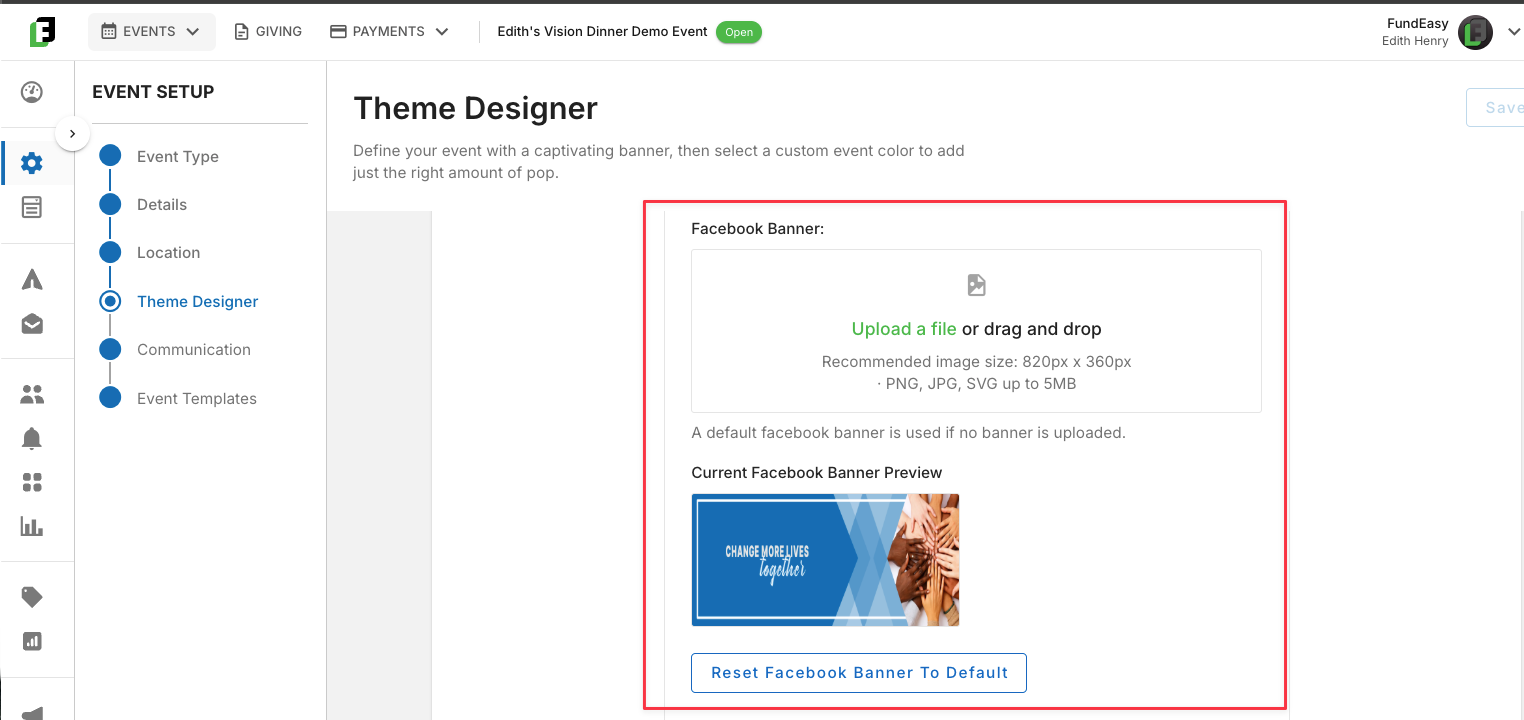
If social media sharing is part of your event's promotion strategy, you may want to provide a separate banner designed specifically for smaller social media dimensions. This can be especially helpful for Peer-to-Peer events, where fundraisers often rely on grassroots connections to reach people they may never meet personally.
Your main event banner is designed to look great across your full event page, but that same image may not look quite as polished when it is cropped or resized for social media. To keep your event looking its best wherever it is shared, ask your designer to provide a second version of your main banner that is optimized for smaller social media dimensions.
Pro Tip: Don't Skip the Social Media Banner if You're Sharing Your Event Link (Including by Text)
If you don't typically enable social media sharing, you may not need to upload a separate banner. However, keep in mind that link previews—such as the preview that appears when you text your event link to someone—may pull from your smaller Social Media Banner rather than your larger main event banner.
If you want your customized branding to look its best whenever someone shares your event link, uploading a Social Media Banner is a good way to cover your bases—even if you don't plan to use social media sharing features directly.
Selecting the Perfect Event Color
Last but not least, pick out your own theme color that will be used for other headers and buttons through your communications.
You can set your event color using a few different methods:
Choose a color manually: Click into the Event Color field and select a color from the color grid.
Enter a color code: If you have a specific color from your designer or branding guidelines, you can enter its RGB, HSL, or HEX code.
Pick a color from your banner: If you've already uploaded your event banner, click the eyedropper tool. Hover over your banner and click the color you'd like to use as your event color.
Once you've selected your color, click Save and Exit to apply your changes.
Tip: If you're working with a designer, they may be able to provide the RGB, HSL, or HEX code for one of your organization's brand colors.