Creating Your Event Step 4: Communication Settings
Written By Edith Henry
Last updated 19 days ago
Before you finalize your event, take a moment to review how your event will communicate with both your team and your guests. The Communication Settings page is where you can designate the person responsible for receiving registration notifications, choose what contact information is displayed publicly, and control which automated emails are sent to registrants.
These settings give you a chance to make sure the right people are kept in the loop while also giving your guests the information they need throughout the registration process.
Event Contacts
The Event Coordinator
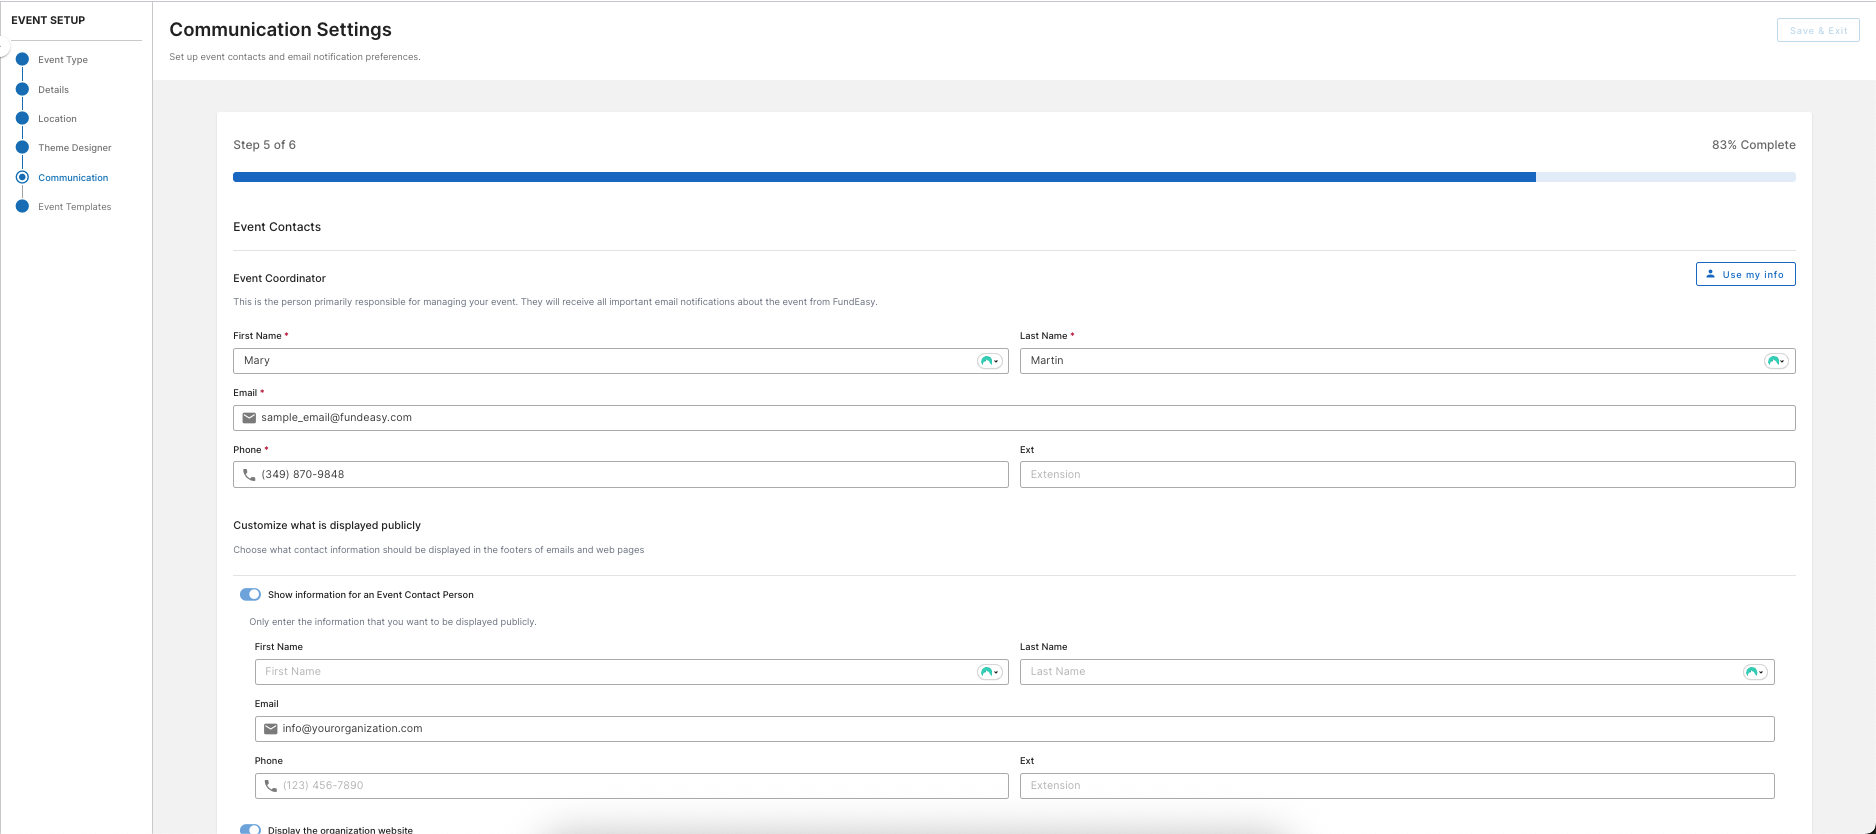
Your event will have one person who is the primary Event Coordinator. They will receive the notifications as registrations start rolling in.
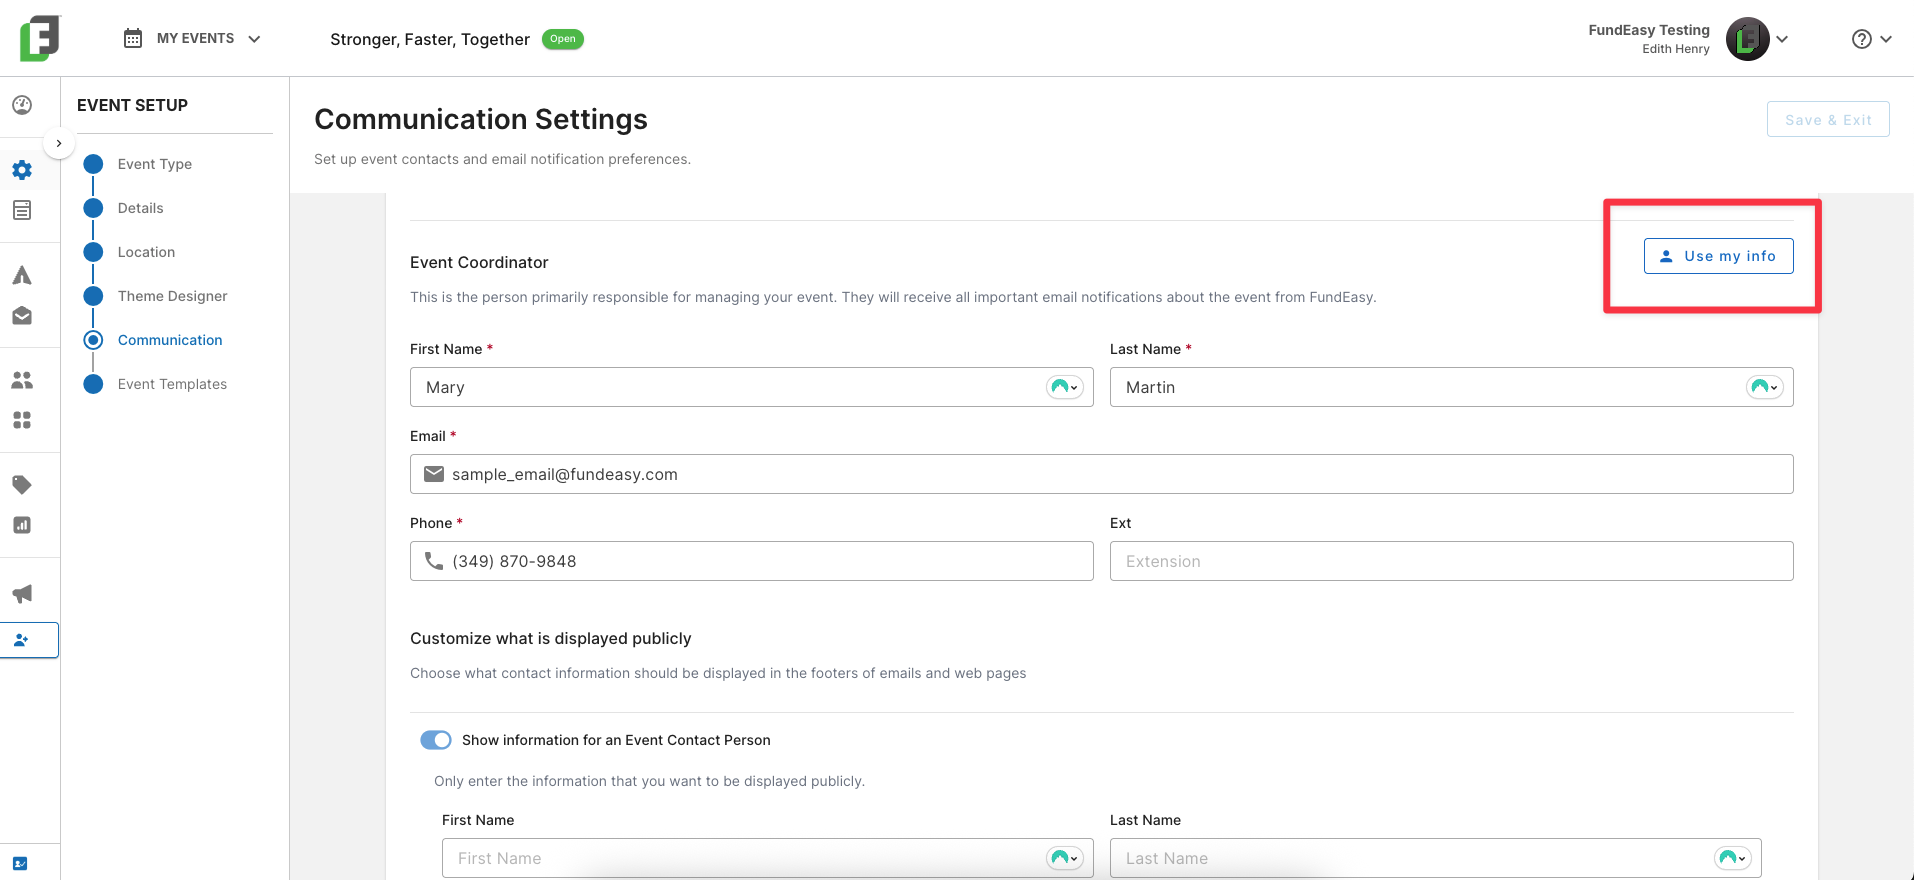
To help save you time, we’ve added in a shortcut for creating the Event Coordinator: the “Use my info” shortcut. Using this button will autofill the information for whichever user is logged in creating the event. Additionally, if you use the “Finalize My Event” shortcut at any point prior to this screen, we will apply the “Use my info” shortcut to help save you that effort.
Customize What Is Displayed Publicly
The Event Contact Person
You may optionally designate a publicly displayed contact person for your event. In some cases, the Event Coordinator may choose to list themselves as the public contact. In other cases, the Coordinator may prefer to display more general contact information, such as an office extension instead of a personal cell phone number.
You can customize the information you wish to publicly display by setting your options here.
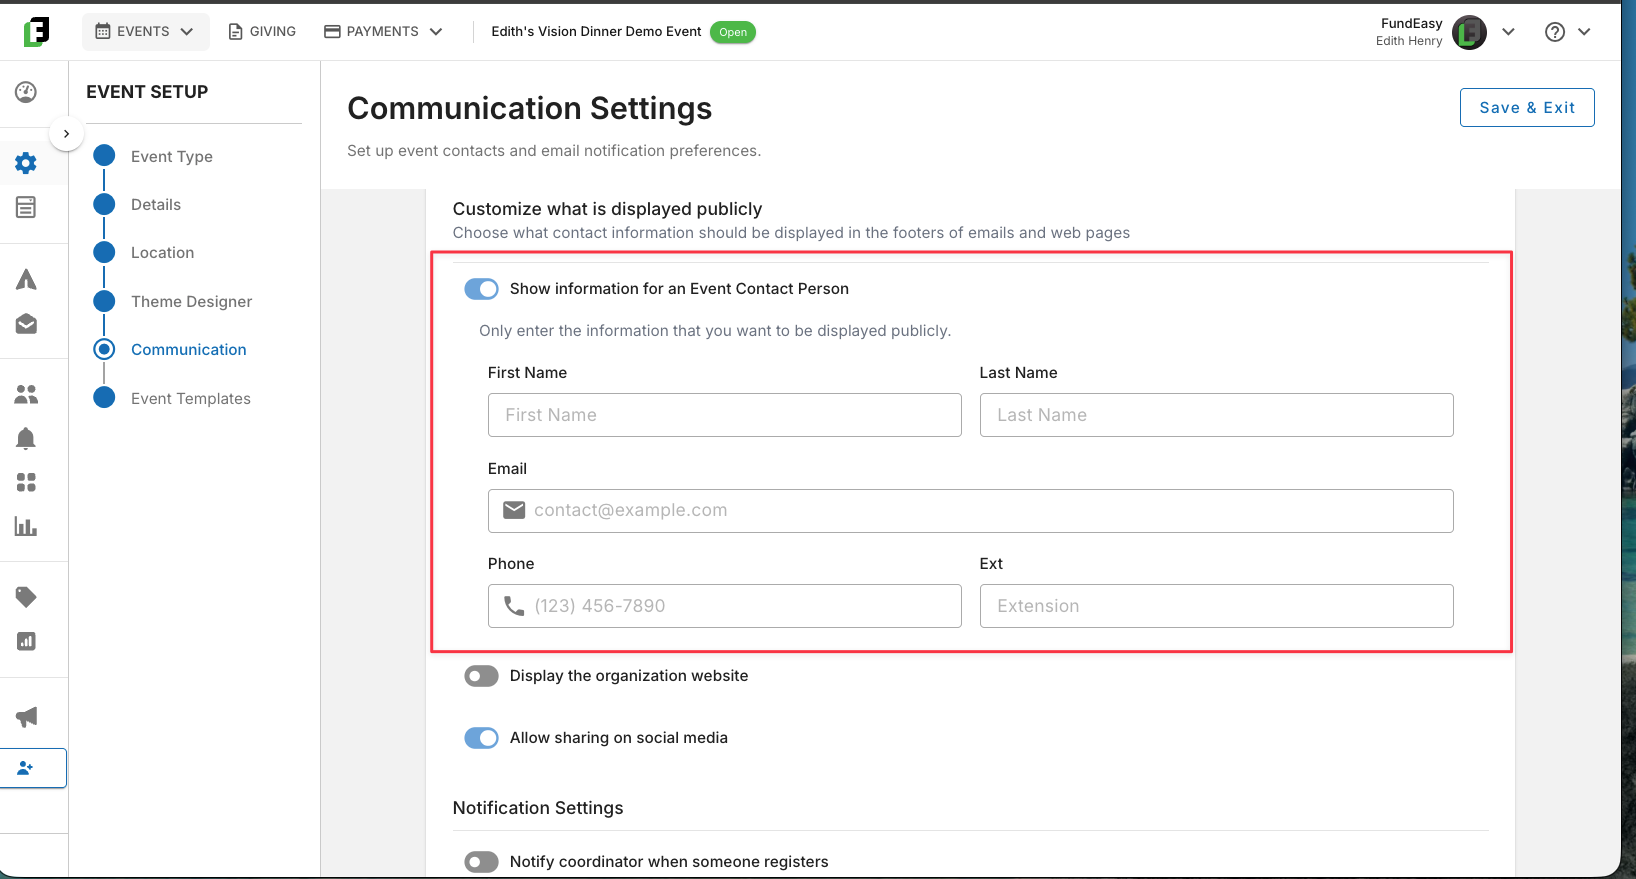
Whatever public contact information you enter will then be displayed throughout the web and email templates, particularly in the footer of your registration page. You are not required to fill in a public contact, especially if you have safety concerns about publicly displaying contact information.

Displaying an Organization Website
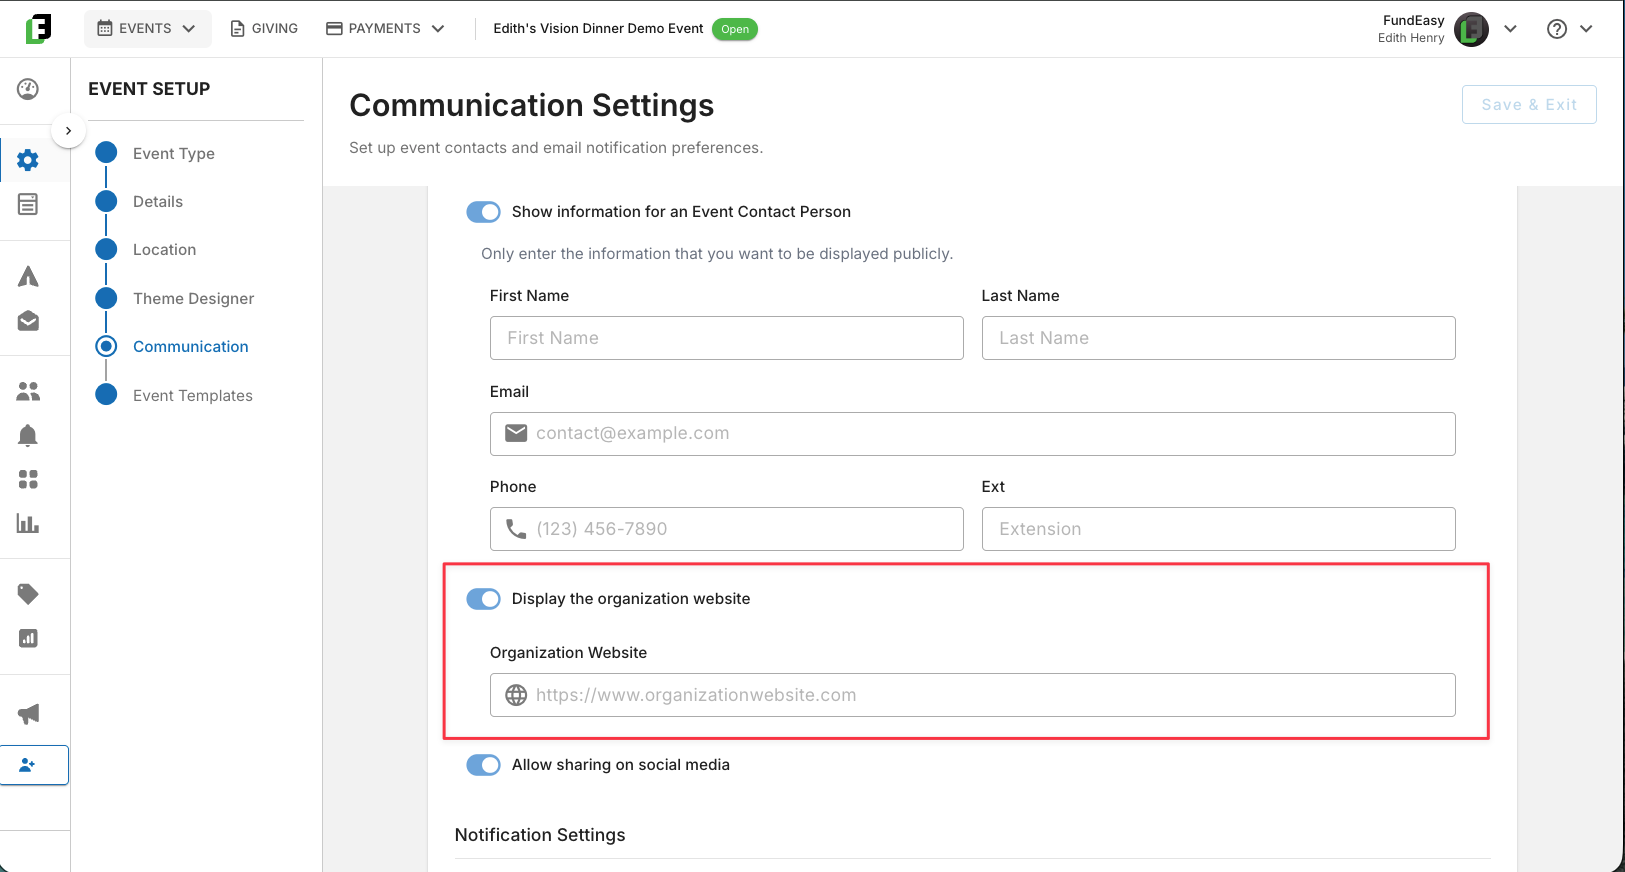
This setting lets you choose whether to display your organization’s website on your event page. Turn it on if you want guests to have an easy way to learn more about your organization or explore other programs, events, and resources you offer. You may want to leave it off if you’d rather keep the focus entirely on your event or if your organization’s website isn’t something you want to promote alongside the event.
Enabling Sharing on Social Media
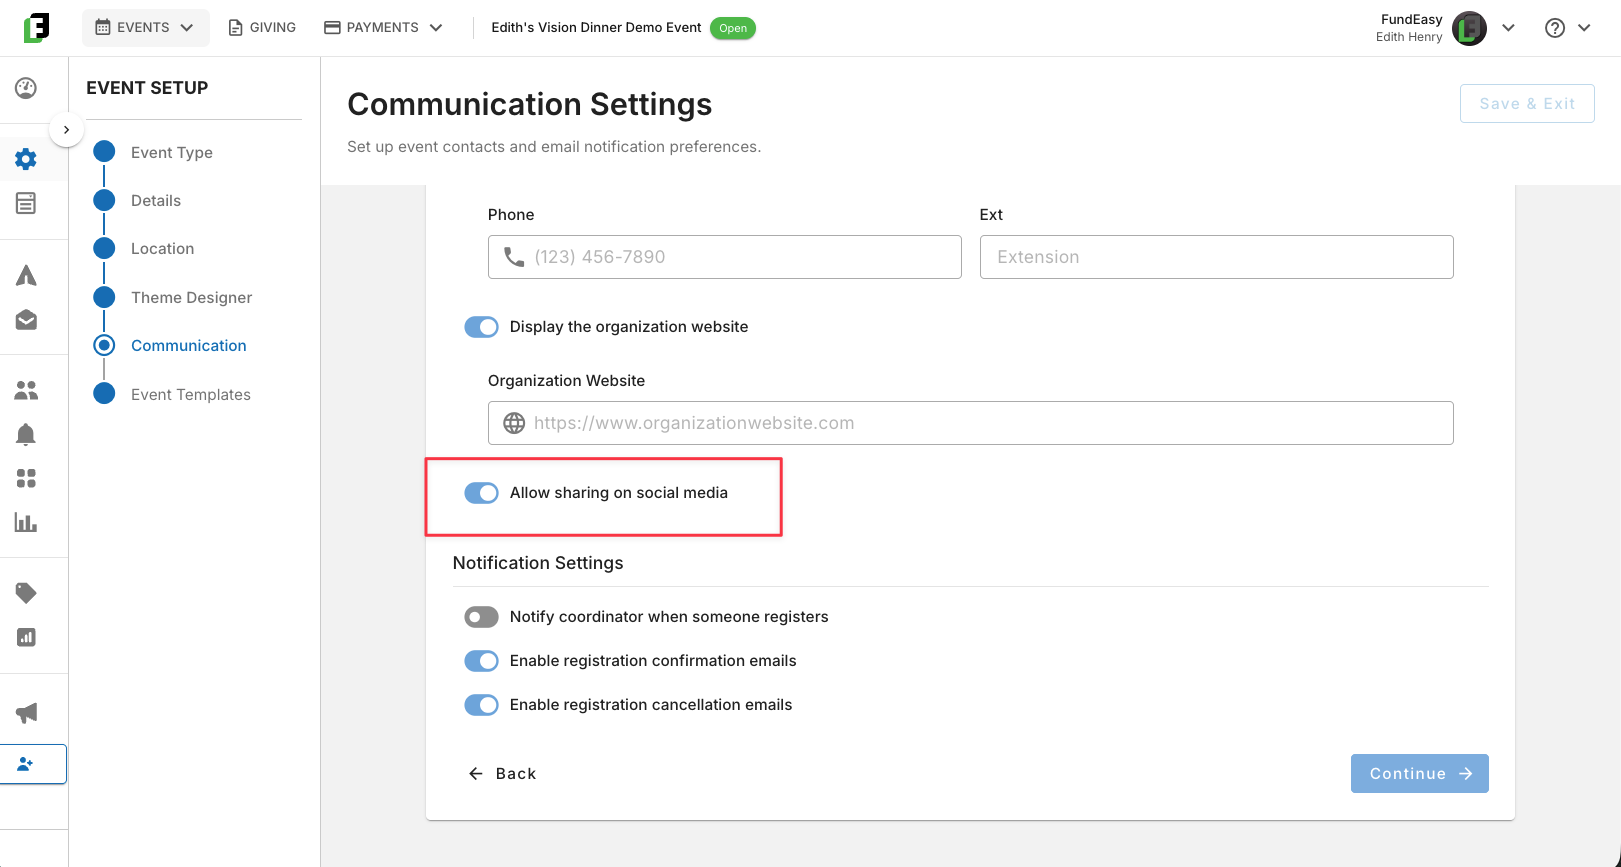
Turn this on if social media sharing is part of your event's promotion strategy. This can be especially helpful for Peer-to-Peer events, where fundraisers often rely on grassroots connections to reach people they may never meet personally.
If you turn this on, make sure to provide a separate banner designed specifically for smaller social media dimensions. You can see how to do that here: https://helpcenter.fundeasy.com/en/help/articles/8069727-creating-your-event-theme-designer#k45e7pccrd3
Notification Settings
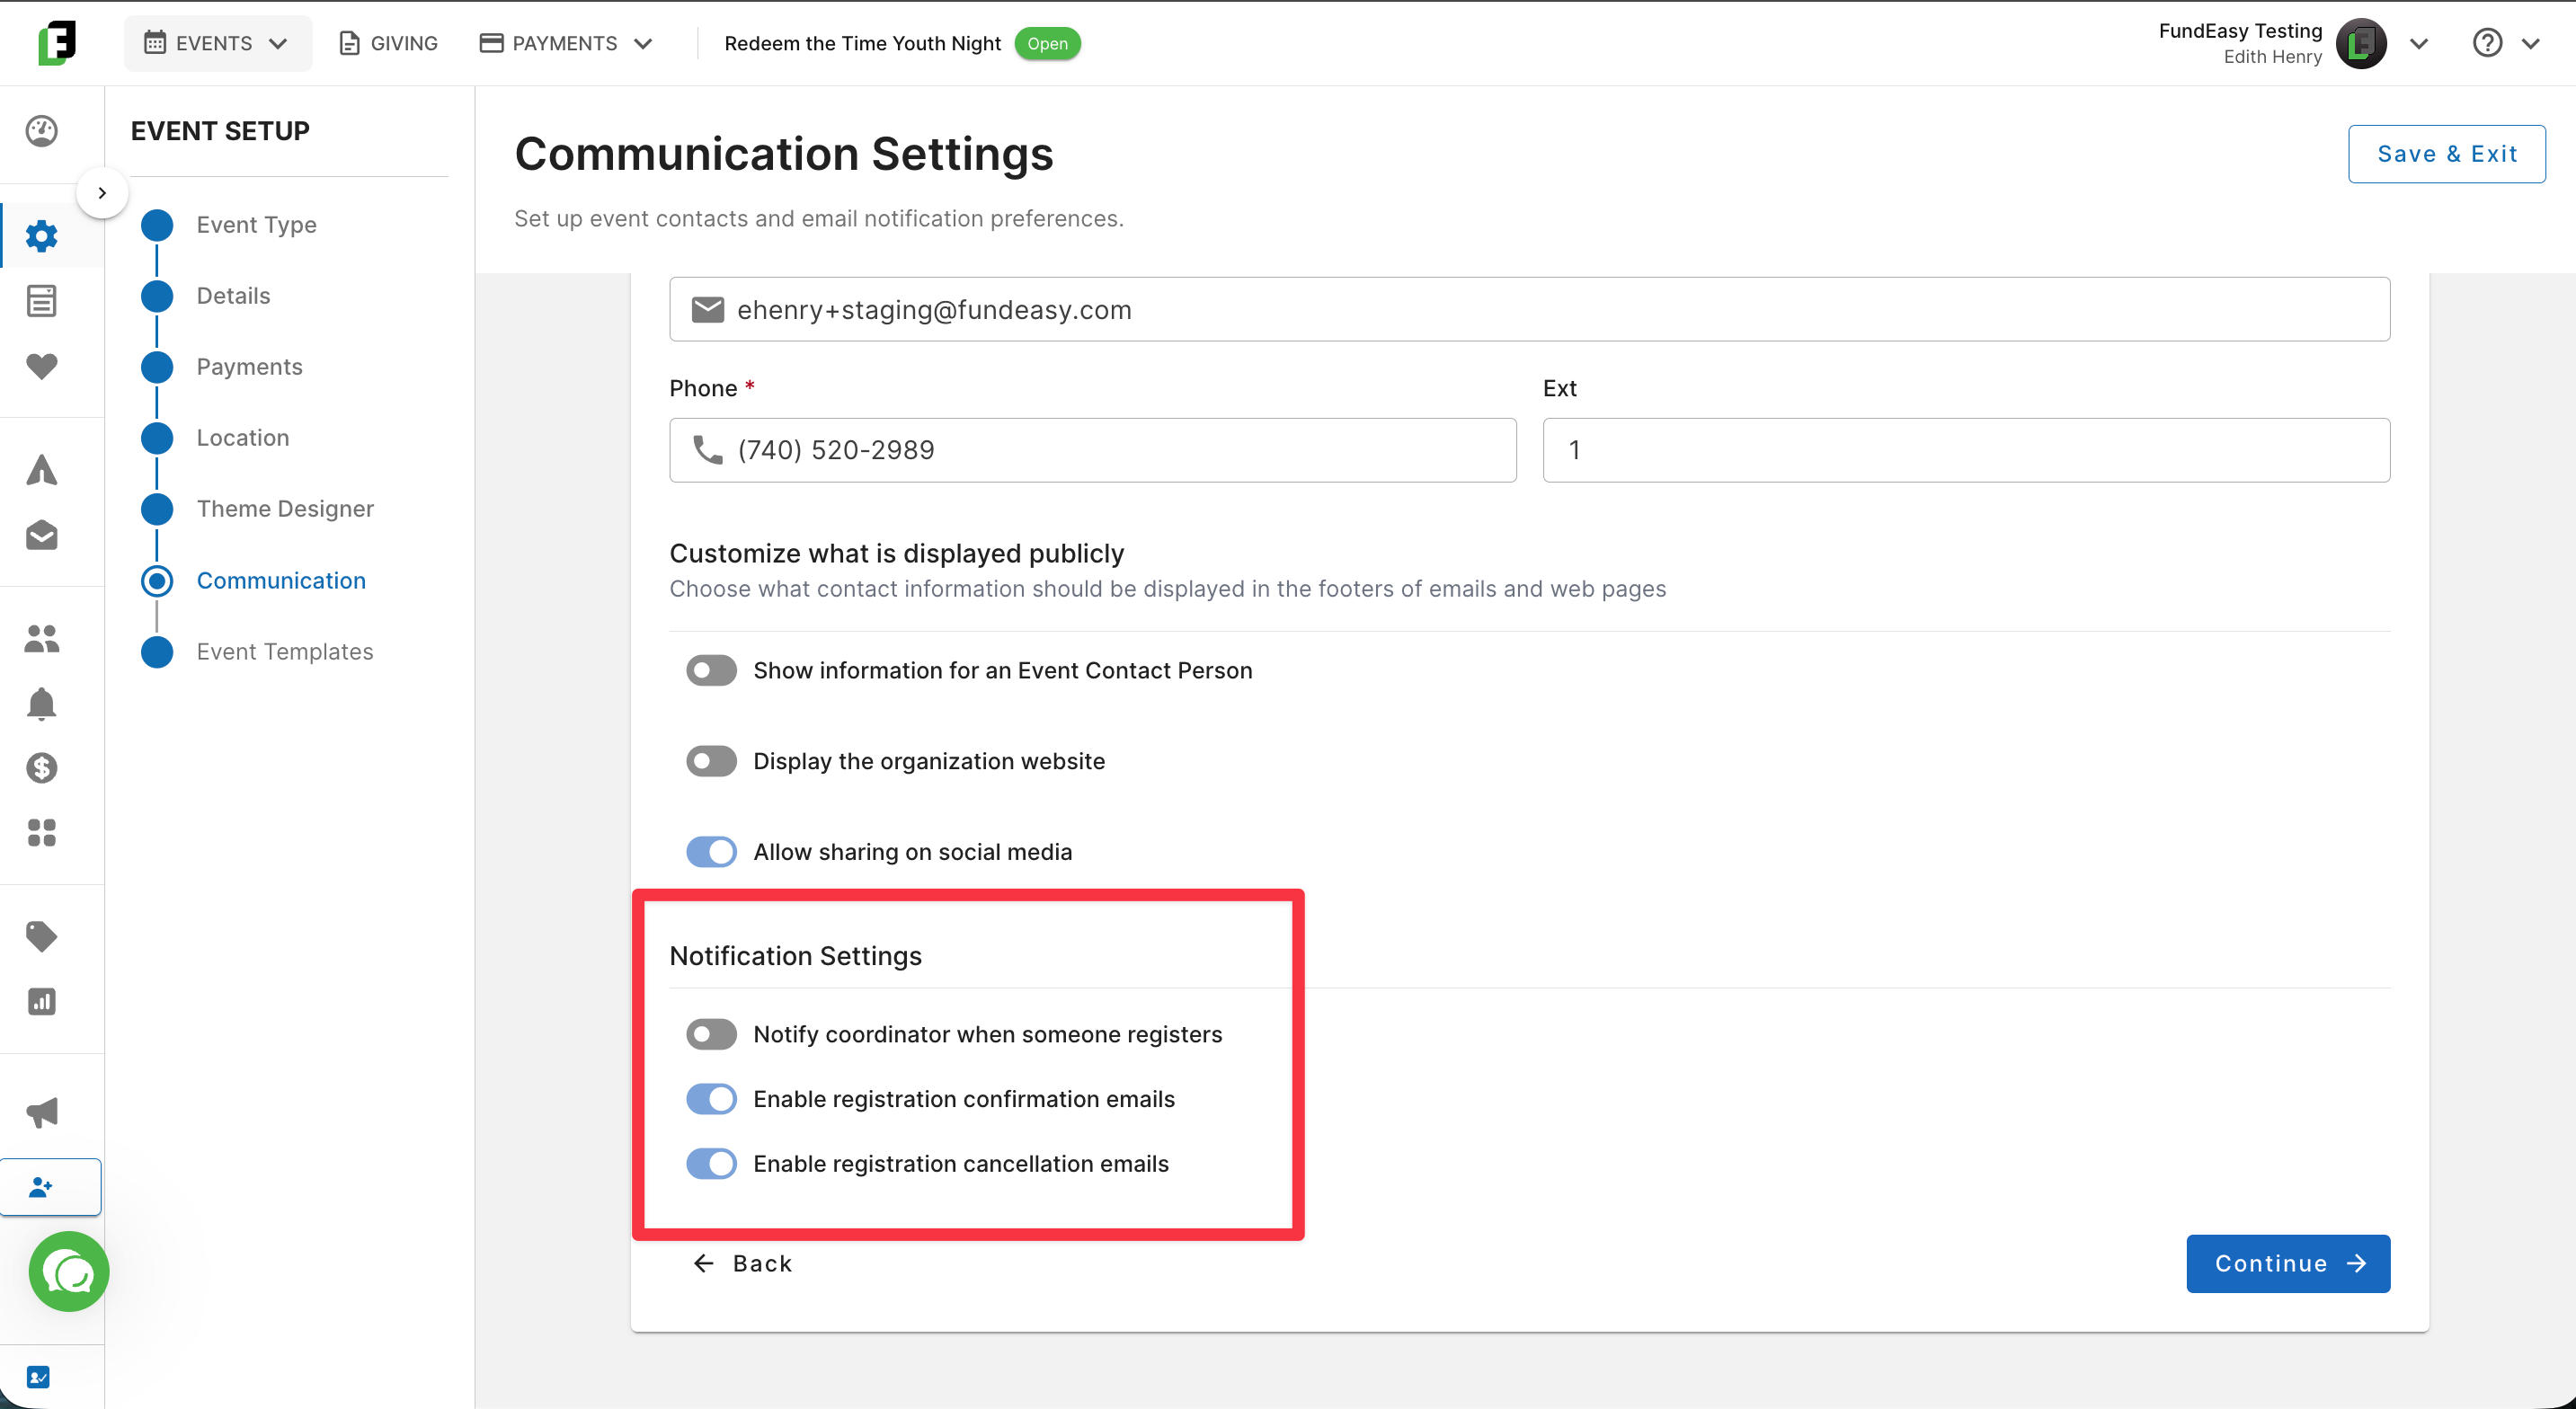
If the event coordinator wishes to be notified for every completed registration, then they should toggle on their setting “Notify coordinator when someone registers.” Coordinators can be notified in real time of every new registration, even if they are not actively working in the platform at the time.
Most events also will use “Enable registration confirmation emails.” These quick, automated responses confirm to a registrant that their information was successfully received. They also contain a confirmation of the event details, such as date and time, to help guests prepare for attending your event.
If for some reason you do not want guests to be notified by email that their registration is completed, then toggle this option off. Similarly, you can toggle off the ability for guests to receive cancellation confirmations.