Creating Your Event Step 6: Registration Setup
Written By Edith Henry
Last updated 19 days ago
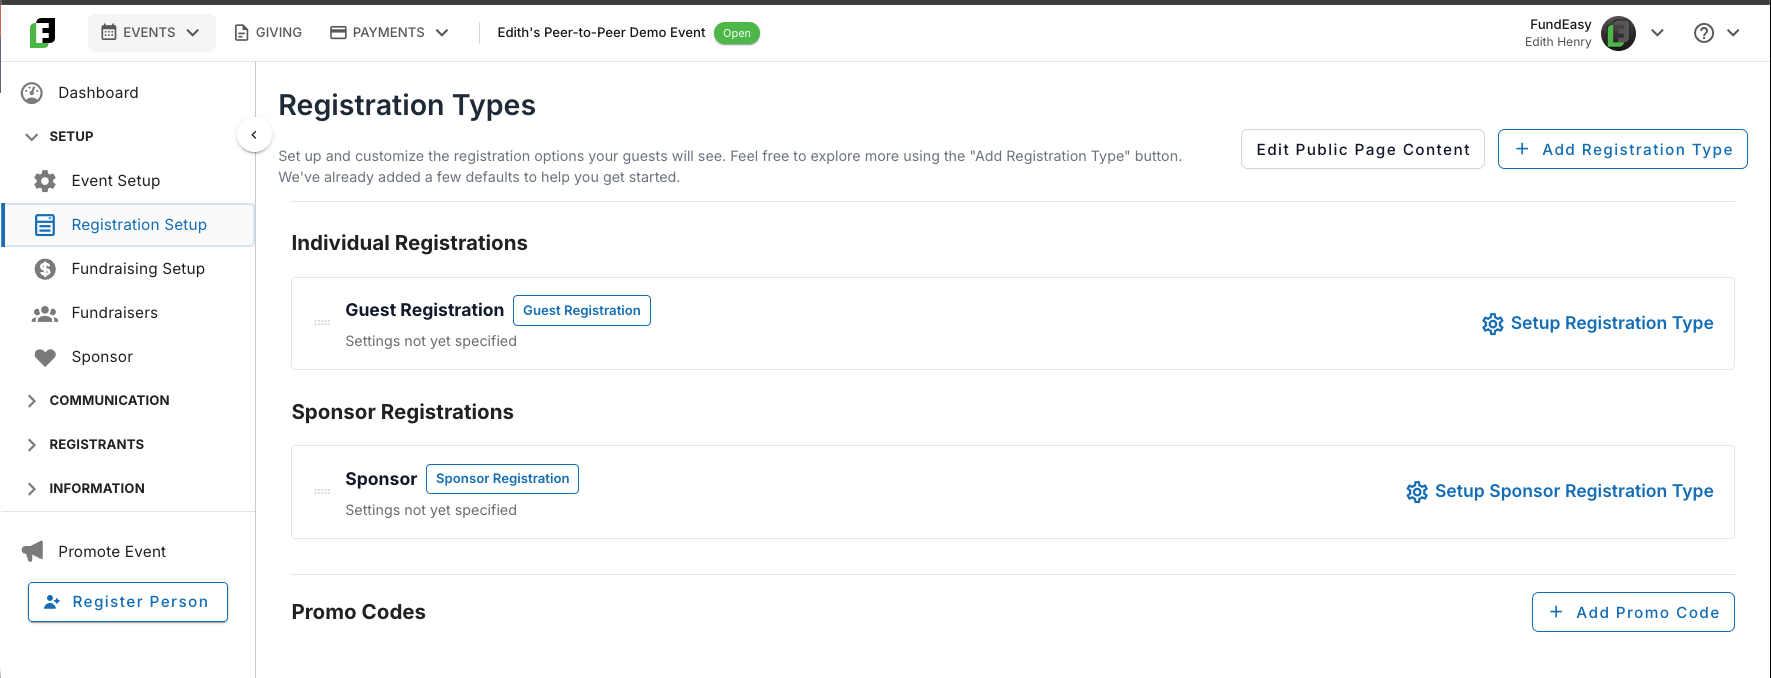
Once you've finished Event Setup, the next stop is Registration Setup — this is where you'll lay out the paths your guests can choose as they RSVP, and it's also where the registration form(s) you'll build out in the next step get created.
Your Event’s Default Registration Types
To keep things super simple and quick, every event template comes with default registration types already built in. For a lot of events, that's all you'll need — we've done the heavy lifting so the defaults work right out of the box.
If your defaults work as-is, then you can skip directly to the next step: https://helpcenter.fundeasy.com/en/help/articles/8892006-creating-your-event-step-7-customizing-your-registration-forms
But if you still have some things to configure, you can keep reading for more direction.
Customizing the Template Defaults
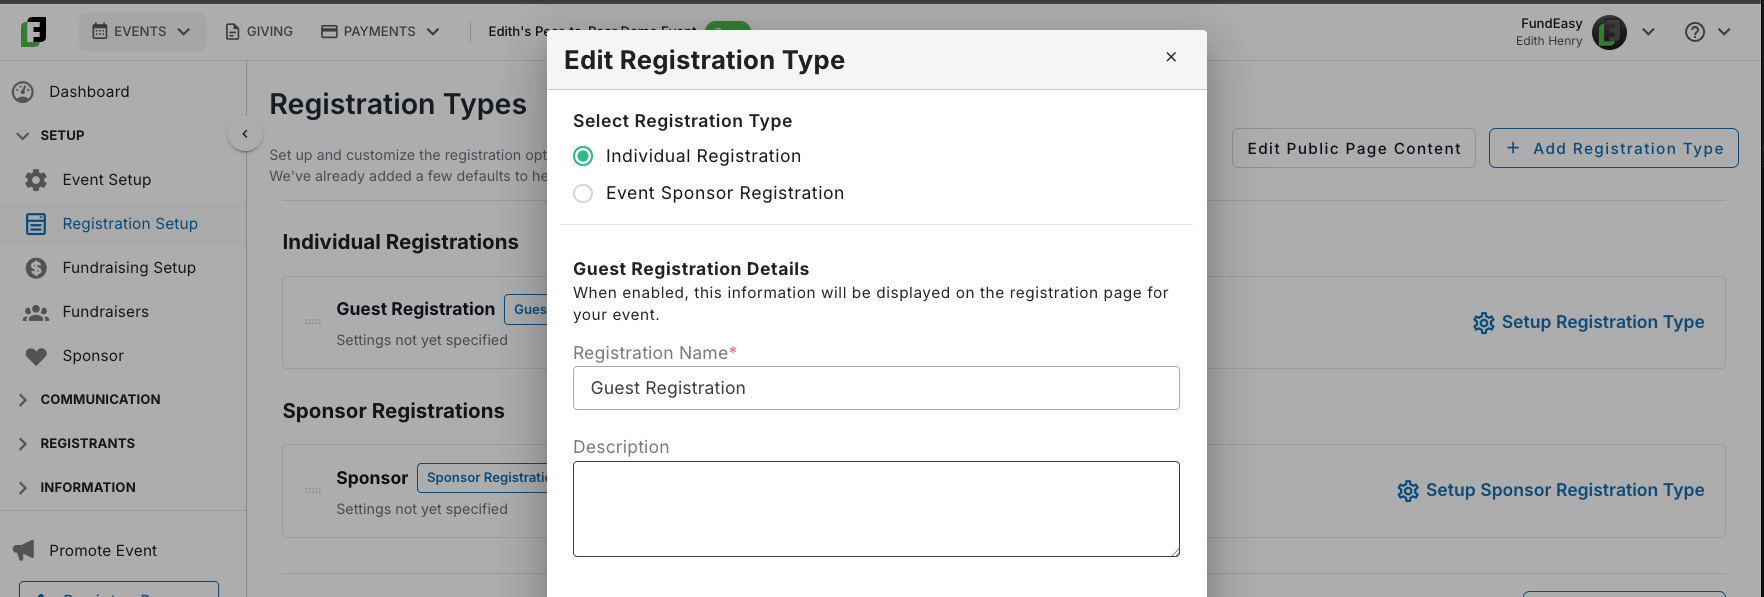
Want to change how a default type looks to guests? Open the "Edit Settings" modal on any registration type to update its name or add a description. For example, you could rename "Guest Registration" to "General Admission" and write your own description — we don't add descriptions by default, since those are unique to your event.
Template-Specific Registration Options
Some registration options will only apply based on which event template you selected. However, if any of the following apply, you can read more in the linked articles for more context and guidance.
If you're running a Pay-to-Attend event (Paid Registration or Peer-to-Peer), you'll need to add pricing to each applicable registration type: See https://helpcenter.fundeasy.com/en/help/articles/5705941-adding-payment-fields-to-a-registration-type-guest-or-host
For Free or Paid Registration Events, you may want to set up bundles (collections of tickets such as sponsored tables, golf foursomes, corporate packages, and other situations where one person is reserving seats for a group). See https://helpcenter.fundeasy.com/en/help/articles/6413534-building-your-registration-bundles
If your event is going to use sponsors, then you’ll need to set up your sponsor flow. See https://helpcenter.fundeasy.com/en/help/articles/9753485-sponsors-and-the-registration-setup
If your event is going to use promo codes, then you’ll set those up on this screen as well. See https://helpcenter.fundeasy.com/en/help/articles/0265995-adding-a-promo-code
Creating Additional Registration Types
You can also add entirely new registration types beyond the defaults. For instance, if most of your guests will register under the standard "Guest Registration," but you also want to offer a limited "VIP Registration," you'd create that here.
One thing to keep in mind: every registration type — default or newly created — gets its own registration form. Once you've finalized your types here, head to https://helpcenter.fundeasy.com/en/help/articles/8892006-creating-your-event-step-7-customizing-your-registration-forms to build out the fields for each one.