Creating Your Event: Crafting the Perfect Look and Feel
Written By Edith Henry
Last updated 3 months ago
By the time you get to the last few steps of the Event Setup flow, you’ve already completed the bare minimum to get your event live and start collecting registrations. However, this point in the setup flow is what allows you to start really customizing the look and feel of your event to capture the spirit of your specific theme.
Theme Designer

We’ve noticed that web and email templates look broken or incomplete without some kind of visual “pop.” So we’ve provided a default banner and color palette that will always keep your communications looking sharp, even if you don’t have any designs of your own.
However, we strongly encourage you to upload your own event banner to represent the heart of your unique event. We’ve given you the ability to add a main banner (such as, for web and email templates) as well as a Facebook banner in case you want to share your event details via social media.
Last but not least, pick out your own theme color that will be used for other headers and buttons through your communications.
Communication
The Event Coordinator

Your event will have one person who is the primary Event Coordinator. They will receive the notifications as registrations start rolling in.
To help save you time, we’ve added in a shortcut for creating the Event Coordinator: the “Use my info” shortcut. Using this button will autofill the information for whichever user is logged in creating the event. Additionally, if you use the “Finalize My Event” shortcut at any point prior to this screen, we will apply the “Use my info” shortcut to help save you that effort.

The Event Contact Person
You may optionally designate a publicly displayed contact person for your event. In some cases, the Event Coordinator may choose to list themselves as the public contact. In other cases, the Coordinator may prefer to display more general contact information, such as an office extension instead of a personal cell phone number.
You can customize the information you wish to publicly display by setting your options here.

Whatever public contact information you enter will then be displayed throughout the web and email templates, particularly in the footer of your registration page. You are not required to fill in a public contact, especially if you have safety concerns about publicly displaying contact information.

Notification Settings
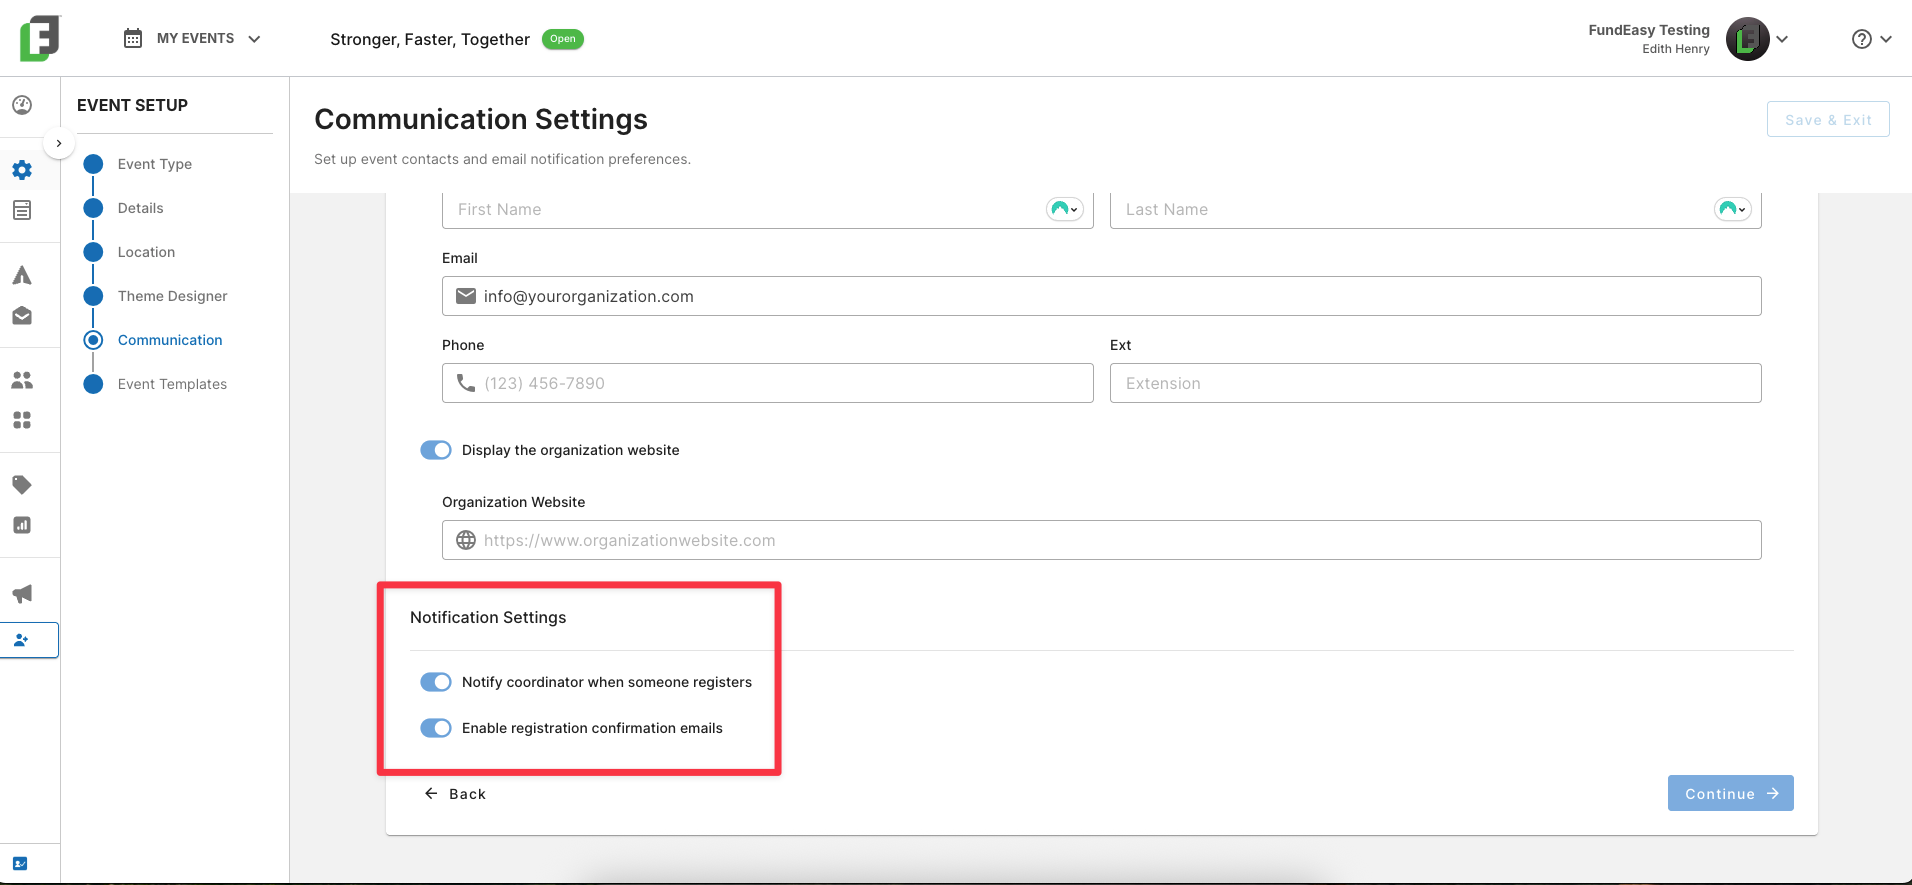
If the event coordinator wishes to be notified for every completed registration, then they should toggle on their setting “Notify coordinator when someone registers.” Coordinators can be notified in real time of every new registration, even if they are not actively working in the platform at the time.
Most events also will use “Enable registration confirmation emails.” These quick, automated responses confirm to a registrant that their information was successfully received. They also receive a confirmation of the event details, such as date and time, to help them prepare for attending your event.
If for some reason you do not want guests to be notified by email that their registration is completed, then toggle this option off.
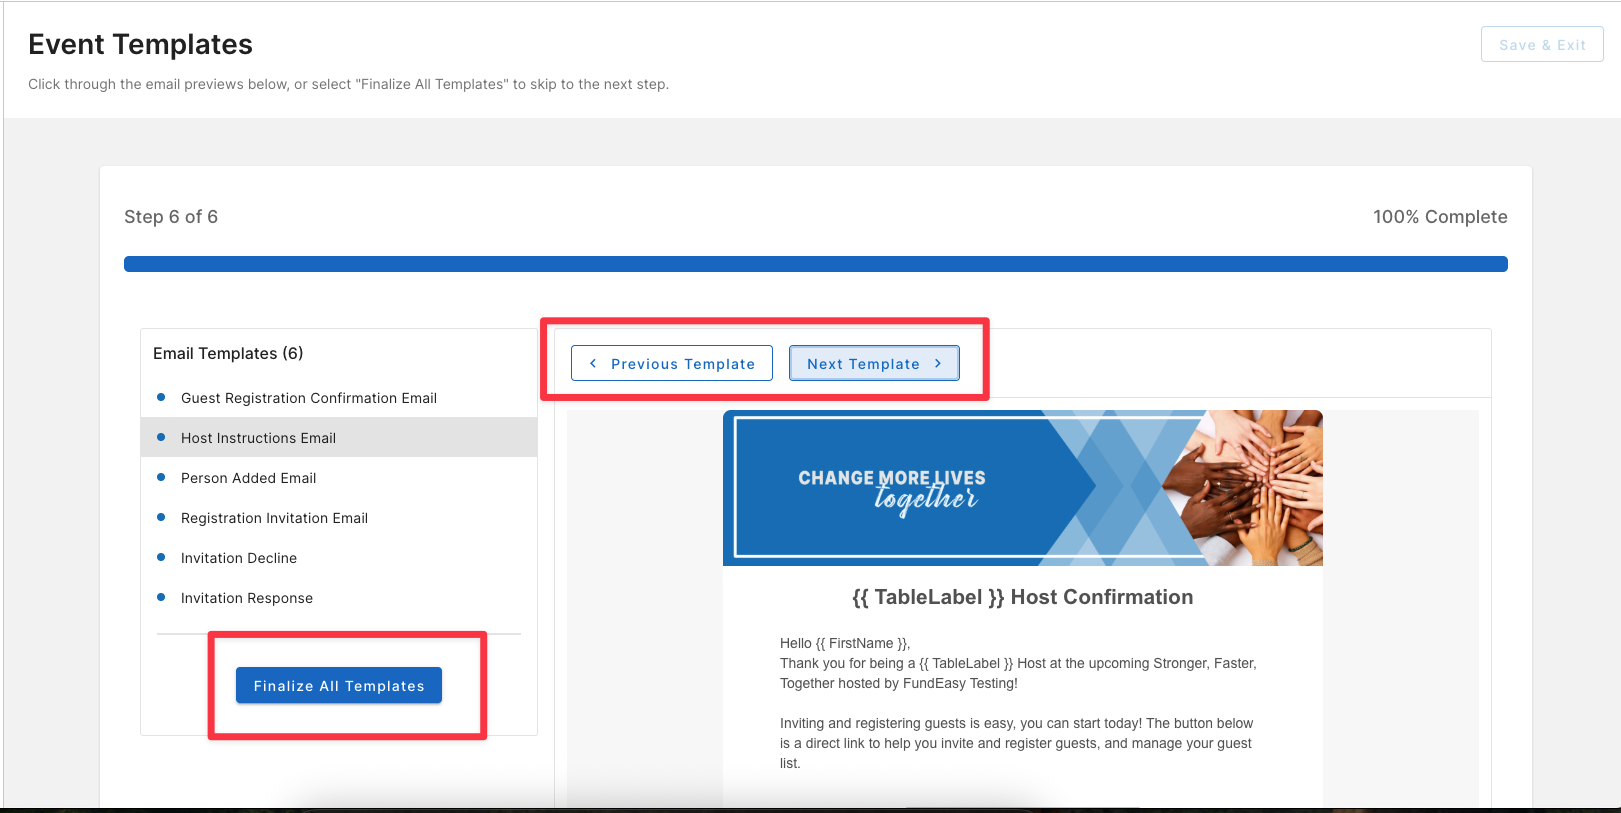
Event Templates
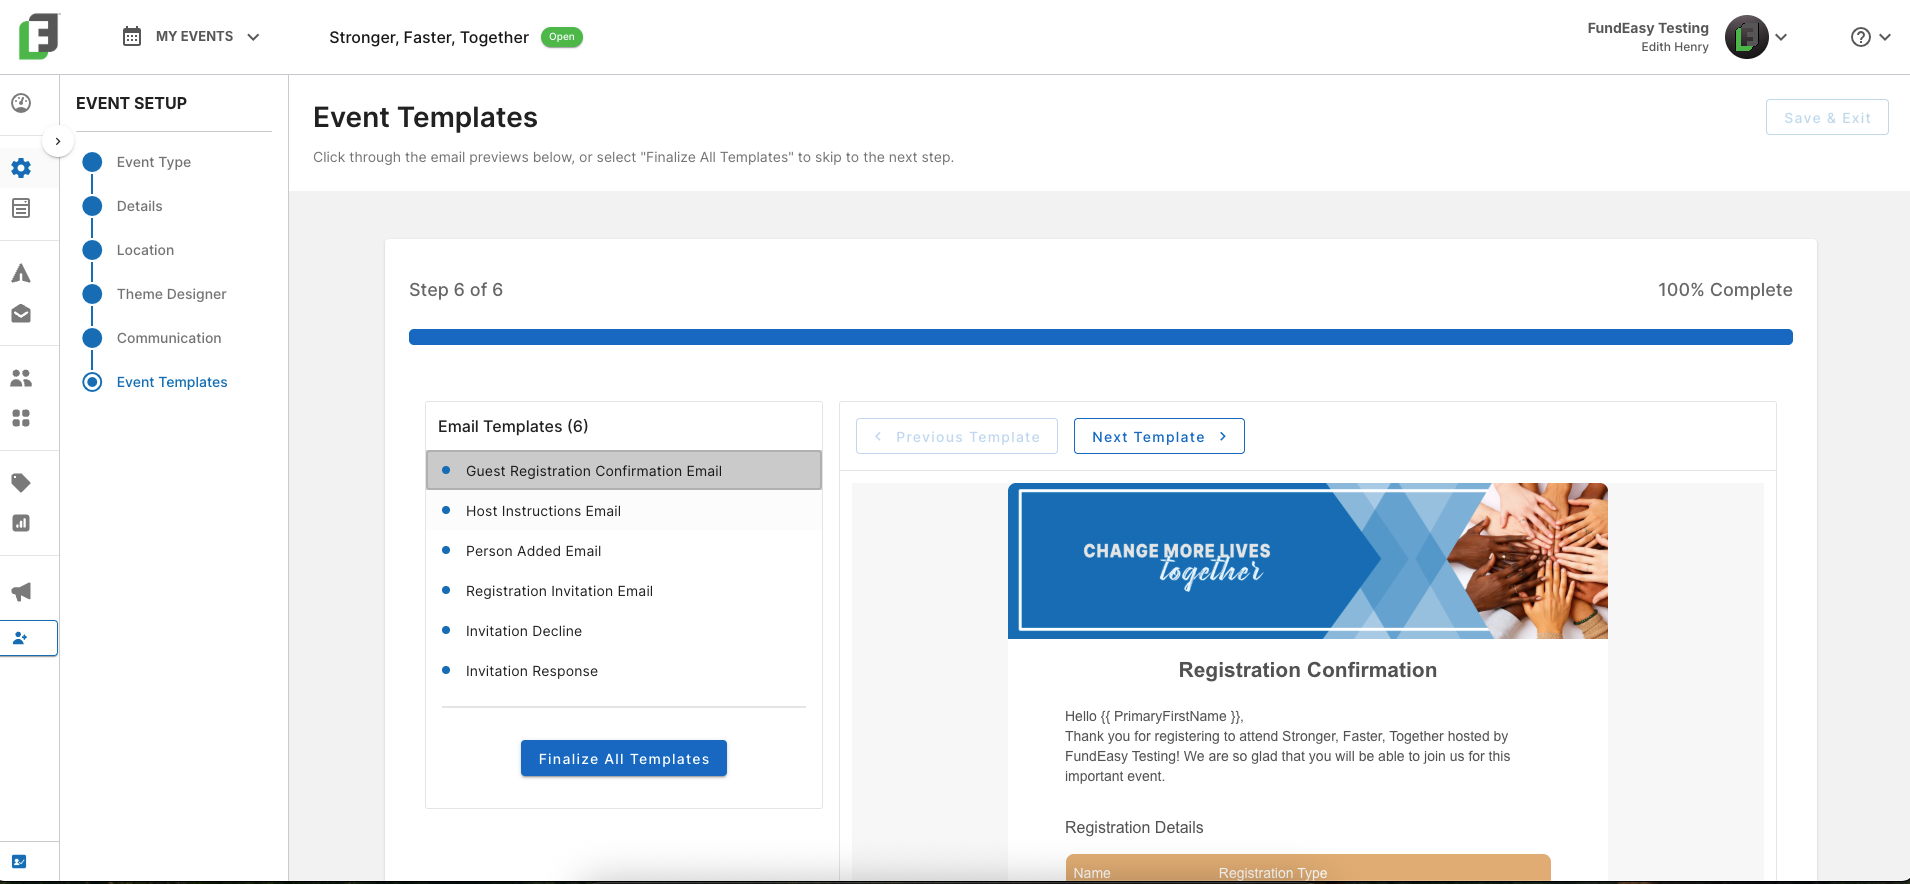
The last step in the event setup is to preview your email templates. The previews do not require any work, but they instead give you high-level visibility into the communications your guests will be receiving.
Customizing templates directly is not supported at this time. Please note that customizable template (such as, the Registration Invitation Email) allow users to customize the messaging by using tools in other parts of the app.

To complete this step of the setup flow, either click through all the templates using the options at the top, or else use the shortcut “Finalize All Templates.”