Invitations
Written By Edith Henry
Last updated 6 months ago

The Invitations tool enables you to send, track, and manage your invitations for your event. You can add individuals one by one and/or upload a CSV file with names, email addresses, and phone numbers. If you have previously had an event and you want to invite the same people, you can import a guest list from that event into this new event.
Use the handy counters at the top of the screen to quickly gauge how many of your invitees have received their invitation, registered, or declined.

Invitation Statuses
There are three invitation statuses: added, invited, and accepted.
When you first add one or more guests, their status will simply be “Added.”

“Added” names have not received any invitation yet. But you can change this by selecting their name and using the button “Send New Invitation Email” at the top of your screen.

Those people who have received an invitation will now be marked as “Invited.”
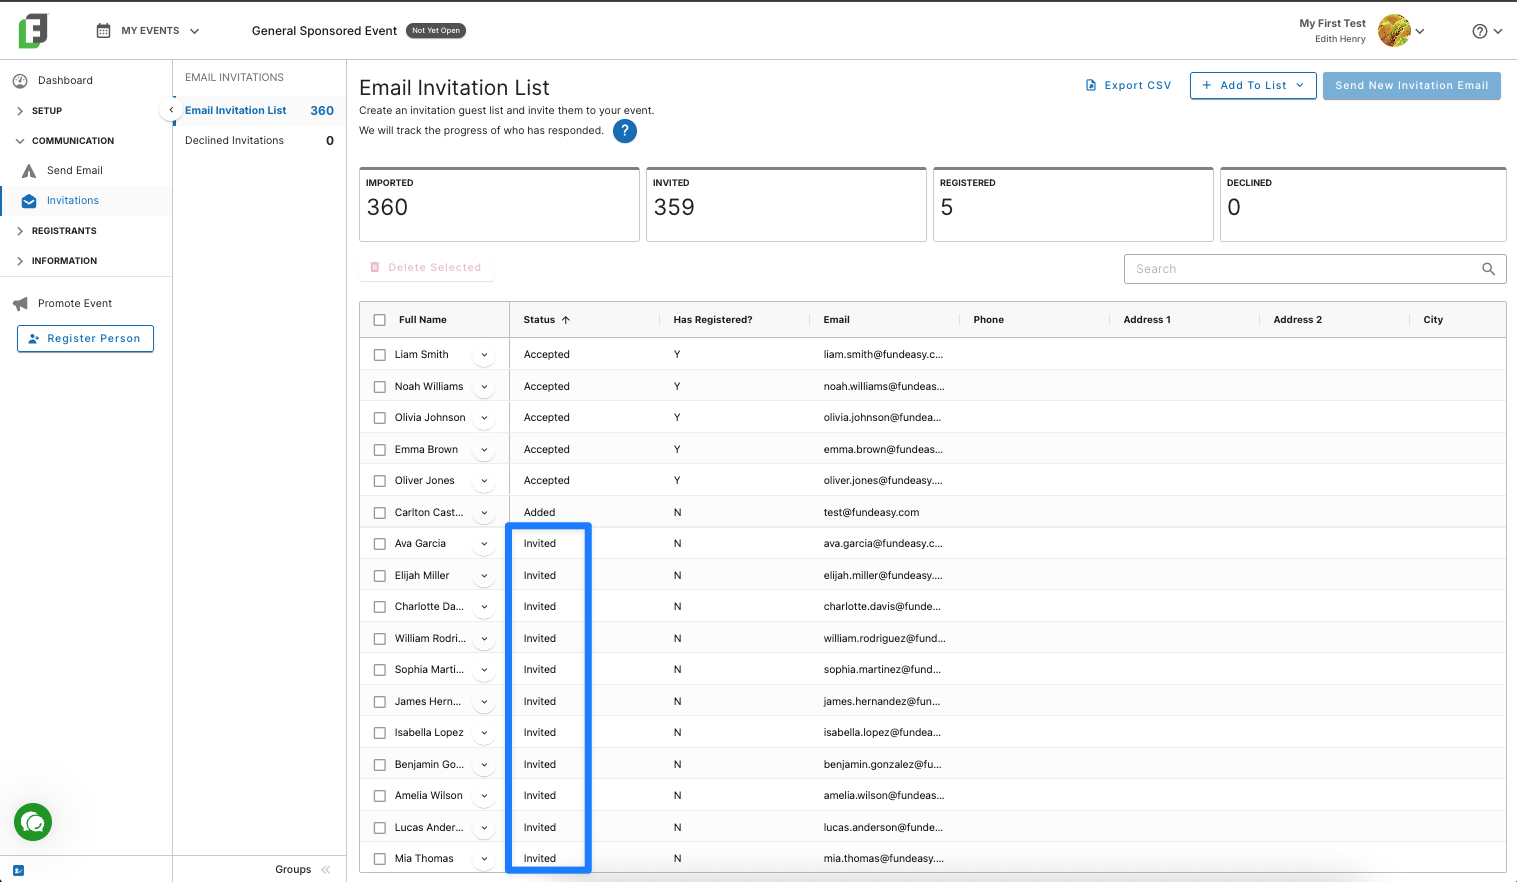
As guests register, they will become the final status: “Accepted.”

Inviting Someone from Your Invitation List
If you are ready to send someone an invitation, then follow these simple steps:
Click the box next to one or more names. This will select these people to be invited.
If you are trying to select all of your invitation list, then select the checkbox in the “Full Name” header at the top of the column). Note: Email addresses for guests that are marked in the Has Registered will not be used, even if they are checked off in the list.

Click Send New Invitation Email.
On the next screen, you can write a note encouraging the invitees to come.
See what the email will look like by clicking "Preview Email." Your invitations are ready right out of the box, but you can make changes to the invitation template by clicking Setup > Event Setup > Web & Email Templates from the Event Tools menu.
Check "Email me when guests register" if you would like to be notified when any of these people register.
Click Send Invitations.
Registering Someone from Your Invitation List
If someone confirms their intention to attend, but has not registered yet, you can manually register those guests from your invitation list. Simply find them on your invitation list, select “Register Participant,” and follow the workflow (most of the registration details will be autofilled for you).

Tracking Declined Invitations
If someone receives an invitation, but declines, they will show up on your declined invitations list. You can still register that person later if he changes his mind.

Resending Invitations from the Invitation List
If you need to send someone a new invitation, simply follow these steps:
Click the box at the top of the Full Name column to select all the email addresses. Note: Email addresses for guests that are marked in the Has Registered will not be used, even if they are checked off in the list.
To email only a segment of the Invitation list, you'll need to check them off individually.
Once you have selected the names, click Send New Invitation Email to open the composer modal to add a personalized note.

Preview your email, and when you're satisfied with how it looks, click Send Invitation Email.